I purchased two poster frames from Target for $5.99 each. I also bought a couple of packs of cheap scrapbook paper that Target had in the dollar bins around Valentine's Day.
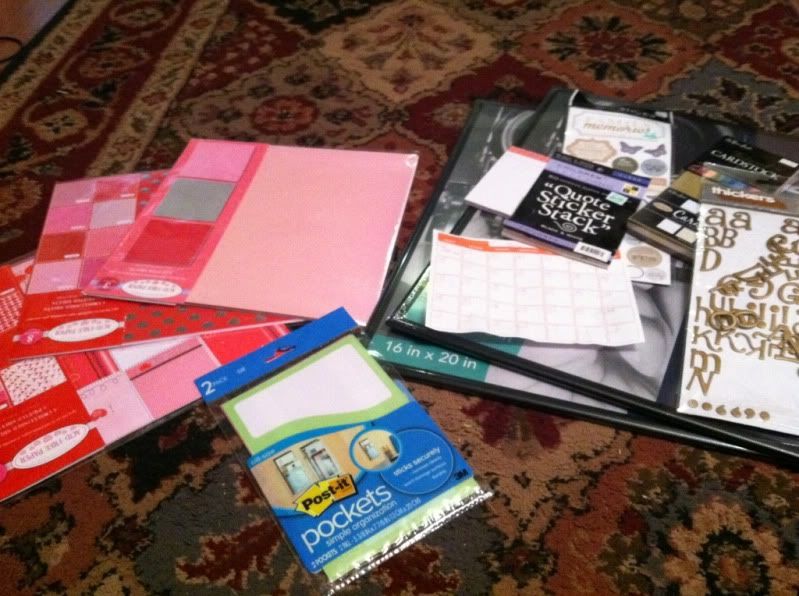
I ended up not using the post it pockets. I also bought more of the blank calendars pictured from Walmart in another color. The days of the week area is a Post-It pack I found at Target. You could make either of these on your computer. All of the other items I had on hand from other projects. For sticky stuff, I used double sided tape. You could use glue, but it may get those annoying ripples in it.
Step 1- I unwrapped the poster frames. I used the cardboard that came as the backing and attached all of my pieces directly to that. You could get a piece of posterboard so it could be changed out easily, but I was going for speed here!!
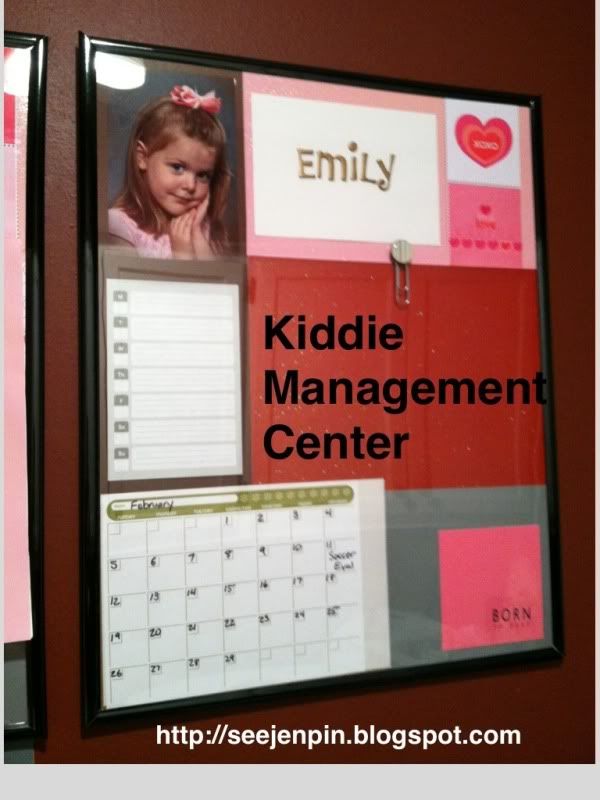
Step 2- I gathered some pictures of the girls. On my boards I used portrait photos, but landscape was used in the original pin (see above). If you use portrait photos, your empty space is landscape. If you use landscape photos your empty space will be portrait. (Red area in first photo that says "Kiddie Management Center"_
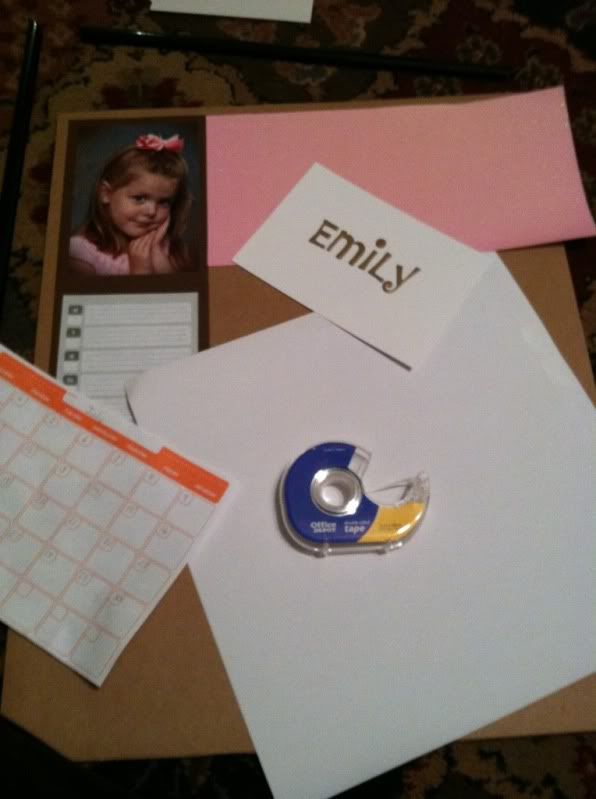
Step 3- I backed the photo and days of the week post it with 4.5"X6.5" cardstock I had on hand to give it a little border. I used construction paper to back the blank calendars because they are very thin and you can see through them.
Step 4- Using the same sized piece of cardstock, I wrote the girls' names in foam letters. I also had these on hand but they were purchased from Hobby Lobby on clearance a few months ago. The pink and white squares by each name are from a piece of scrapbook paper I cut apart.
Step 5- I began laying out the paper how I wanted it. I used the double stick tape to put it all down. In the above photo, I was using an old calendar just for size. You can see in the finished product I used a different color/style. My Walmart only carries these two styles and they are found next to office supplies instead of where most of the other calendars are located.
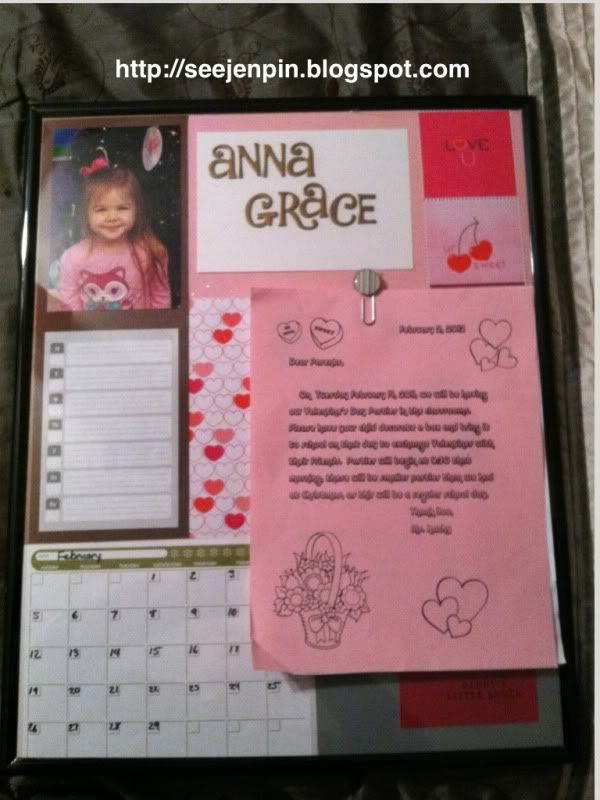
Final Step- Once everything is right inside the frame, I sealed it all up, removed all protective plastic off the outer frame and superglued a fancy paperclip on the outside of the frame. I filled in the blank calendar from the outside using a Vis a Vis, and it is ready for use!!
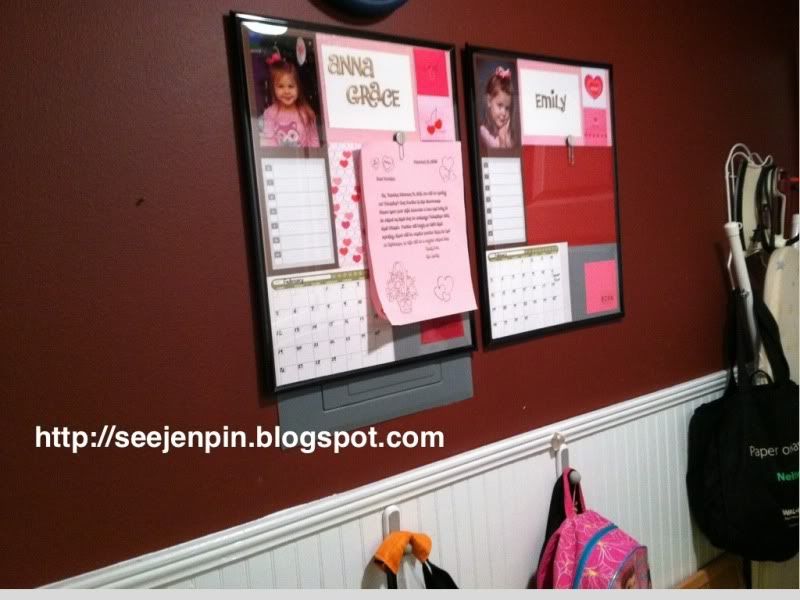
Hang them over their bookbag hooks and never miss an appointment or practice again!!
If you have any questions about making your own, please ask me in the comments!! I would also love to see what you come up with so leave a link if you decide to make one!!
No comments:
Post a Comment