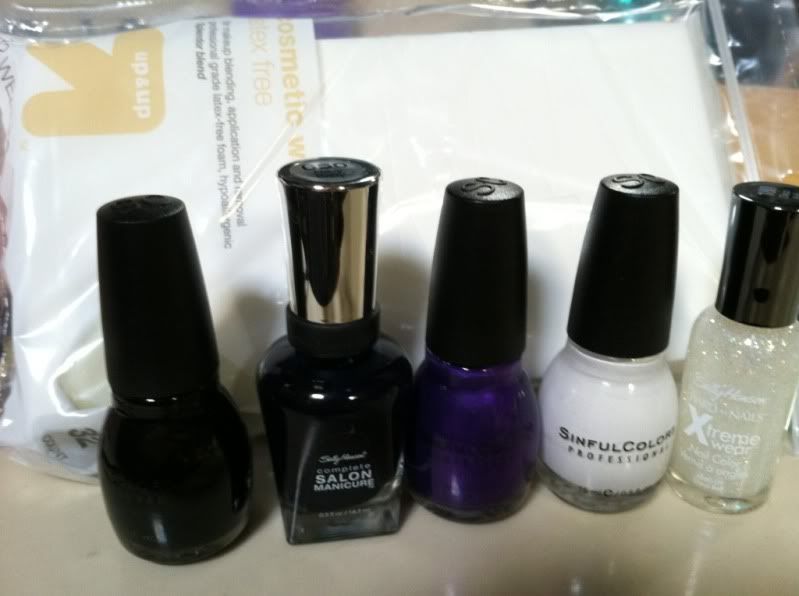
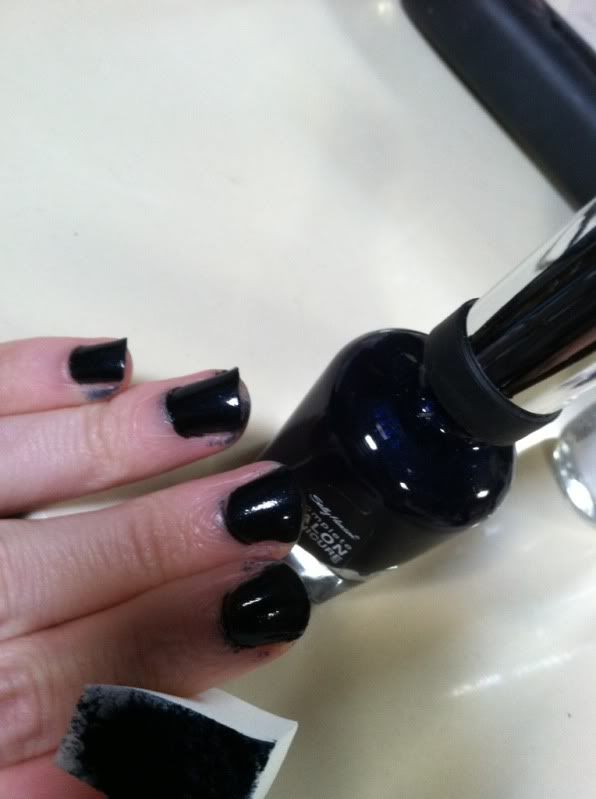
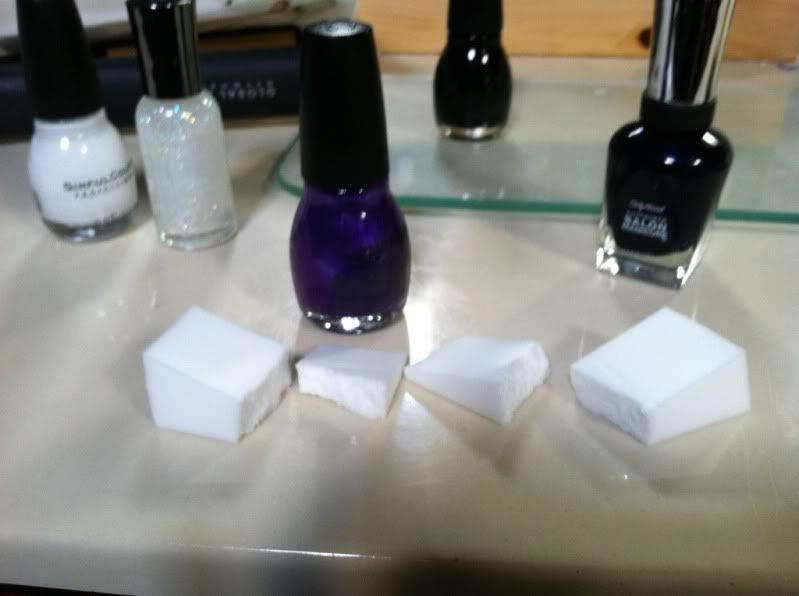
Supplies: Nail Colors- I used Sinful Colors from Target Black on Black #2, Snow Me White #1, Let's Talk # 929, Sally Hansen Complete Salon Manicure #650 Navy Baby, SH Hard Nail Extreme Wear #180 Disco Ball. Shown Above #2, #650, #929, #1, #180
You also need a makeup sponge to tear up and a sewing needle if you want to do stars.
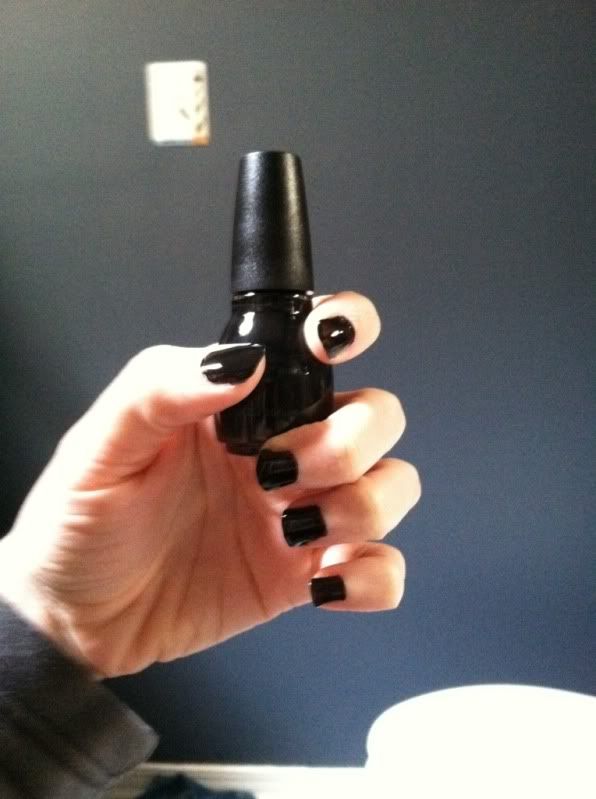
This color is quite dark so you may not see much over the black, but just give it a minute, it will turn out great!!
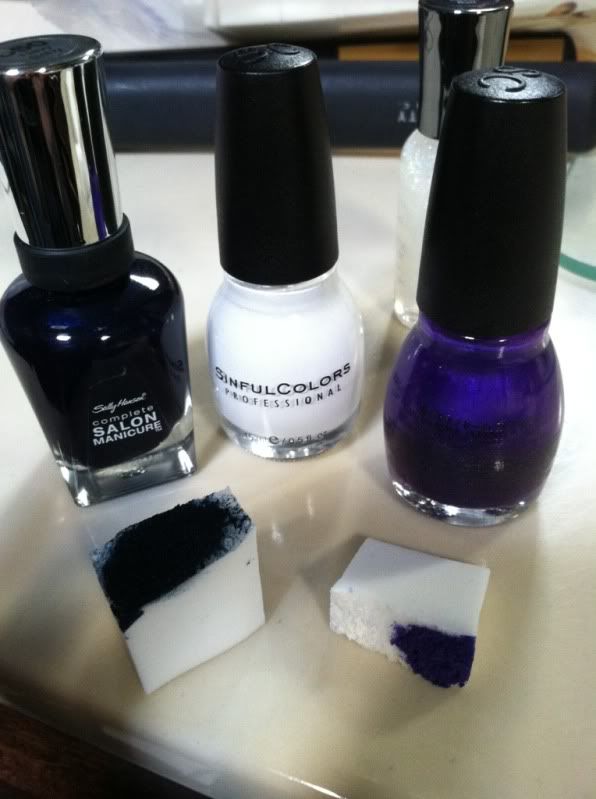
Step 3- Purple. This color is much more of a purple and much brighter than it appears in the pictures. No matter what I did, I couldn't get it to show up right. Anyway, take the smaller piece of the sponge and use this in a diagonal across your nail. You probaby won't want to use as much paint on this one. Just keep applying to the sponge as needed. Don't keep dabbing the colors either. It will begin lifting color off if you do that. If you feel you need more color let the first dab dry. Then repeat.
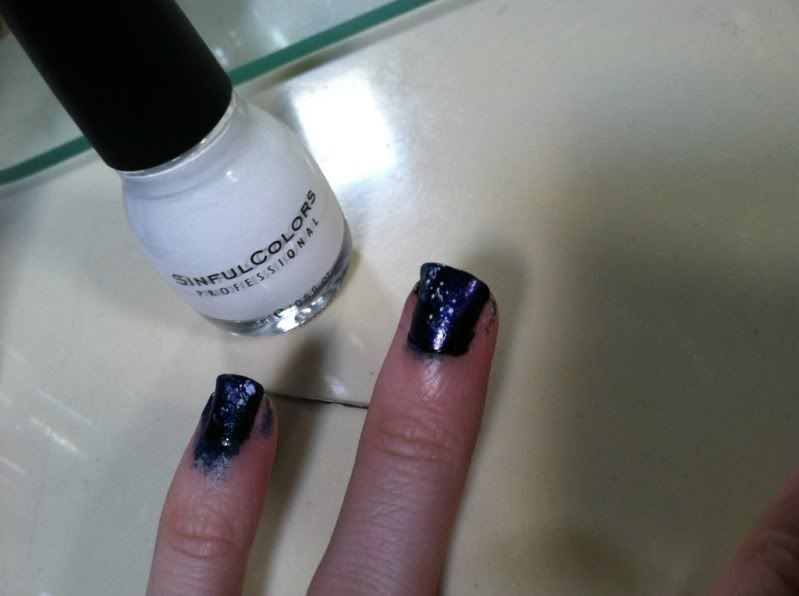
Step 4- White and more blue- Now for white again use a small bit of sponge. You want to go LIGHT if you are using the color listed here because it is very opaque. Just use a small bit. I used it just on the edge of my purple diagonal splotch. Then, after finishing all the nails I went back over it VERY LIGHTLY with the blue color. It was still a bit wet, but that is okay. You will see what I mean, the white is just too bright. Perhaps silver would be a better choice in retrospect.
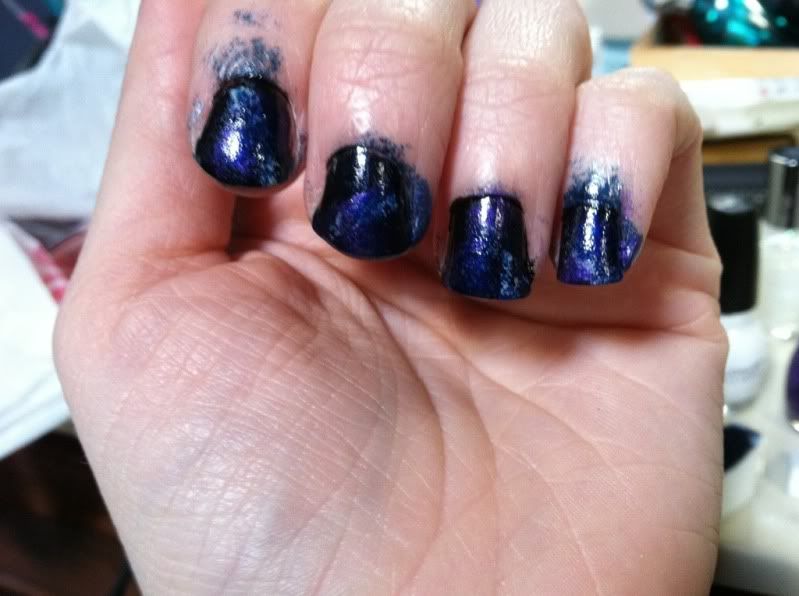
Step 5- Optional- I would opt out of this step, but maybe you can do a better job than me. STARS- I used a needle to make stars. I started trying to use the pointed end, but the paint doesn't run all the way down, so I used the side which made globs. Eek! I then turned it around and used the thread end which actually worked well, but I still didn't like them. On the hand pictured I put small ones closer together. Not too bad. On the other hand pictured at the very top, I only put a few here and there.

Step 6- Glitter coat. Ok, if you are looking at your nails now and thinking WTF!! I promise, this step will help a lot. If you like how they look, do a light coat of the glitter polish. If you have a few mistakes go a little heavier. This is the last painting step!!
Step 7- Use a qtip to cleam up polish around the nails. I had quite a bit!!
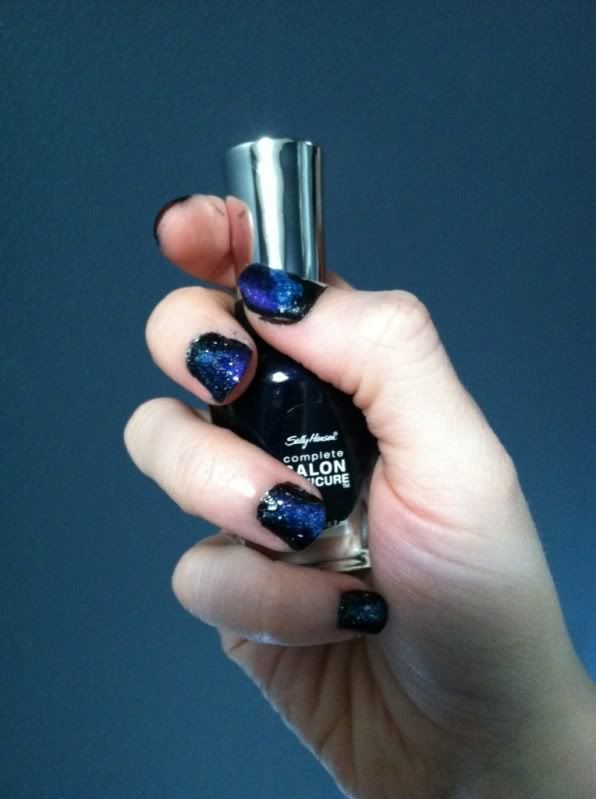
I hope you have fun experimenting with your own night sky nails! Please leave a comment if you have a tip to make it easier! Or post other colors you used.
Have fun!!
No comments:
Post a Comment